Glass crafts offer a captivating medium for artistic expression and creativity. The translucent beauty of glass has fascinated artisans for centuries, and the art of creating glass ornaments has become a beloved tradition, especially during the holiday season.
In this article, we will explore the enchanting world of glass crafts, focusing on the creation of stunning ornaments for holiday decorations.
With tutorials on stained glass, glass etching, glass fusing, and glass painting, you’ll discover a plethora of DIY ideas to add a touch of elegance and charm to your festive celebrations.
Stained Glass Ornaments
Stained glass ornaments exude timeless beauty and intricate designs. With their vibrant colors and interplay of light, they add a touch of sophistication to any holiday décor. Creating stained glass ornaments requires the following steps:
Design: Begin by sketching your desired ornament design on paper. Choose festive shapes like snowflakes, stars, angels, or Christmas trees. Once you have your design, transfer it onto the glass.
Glass Cutting: Use glass cutters and pliers to carefully cut the glass pieces according to your design. Remember to wear protective gloves and eye goggles to ensure safety.
Foiling: Apply copper foil tape to the edges of the glass pieces. This will allow the pieces to be soldered together.
Soldering: Use a soldering iron and lead-free solder to join the foiled glass pieces together. Take care to create neat and secure connections.
Finishing Touches: Clean the soldered ornament with a glass cleaner and add a hanging loop or ribbon for display.
Glass Etching Ornaments
Glass etching provides a sophisticated and elegant way to personalize glass ornaments. The etching process creates a frosted appearance on the glass, allowing for intricate designs and monograms. Follow these steps to create beautiful etched glass ornaments:
Design: Decide on a design for your ornament. Consider using stencils, adhesive vinyl, or freehand drawing to create your desired pattern or monogram.
Glass Preparation: Thoroughly clean the glass surface to ensure optimal adhesion of the etching cream. Use rubbing alcohol to remove any oils or residues.
Apply Etching Cream: Carefully apply the glass etching cream onto the desired areas of the ornament. Follow the instructions provided with the etching cream, as each brand may have specific application times.
Rinse and Reveal: After the recommended time, rinse off the etching cream under running water. Pat the glass dry to reveal the frosted design.
Finishing: Add a decorative ribbon or embellishments to complete your etched glass ornament.
Glass Fusing Ornaments
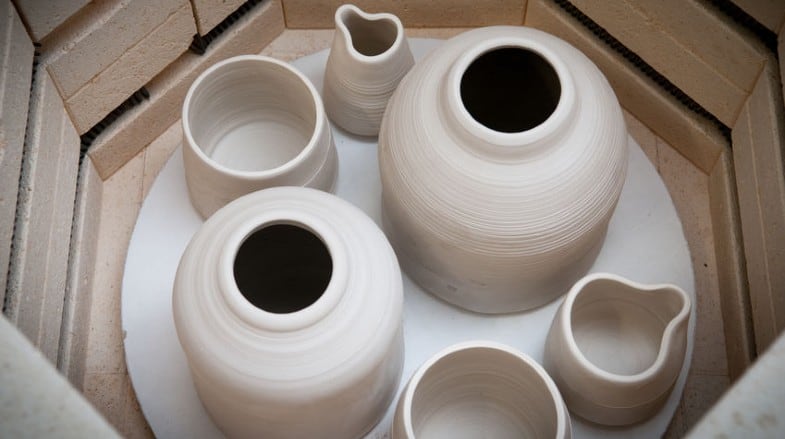
Glass fusing is a captivating technique that involves melting different pieces of glass together to create unique and vibrant ornaments. With a kiln and some basic tools, you can embark on the following process:
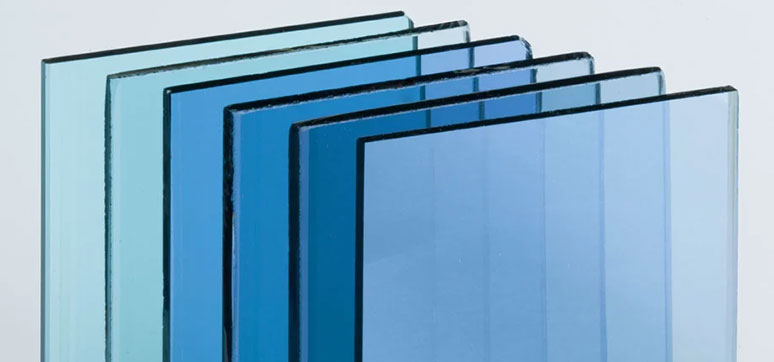
Design and Cut: Sketch and cut out your ornament shapes from compatible glass sheets. Experiment with different colors and textures to create visual interest.
Assembly: Arrange the glass pieces on a kiln shelf, ensuring they fit together snugly. Use kiln paper or a kiln wash to prevent sticking.
Firing: Place the shelf with the glass pieces into the kiln and carefully follow the firing schedule recommended for the glass you are using. The kiln will heat and fuse the glass together.
Cooling: Allow the kiln to cool gradually to prevent thermal shock. Once the kiln reaches room temperature, remove your fused glass ornament.
Finishing: Use a glass grinder or sandpaper to smooth any rough edges. Add a hanging loop or attachment for display.
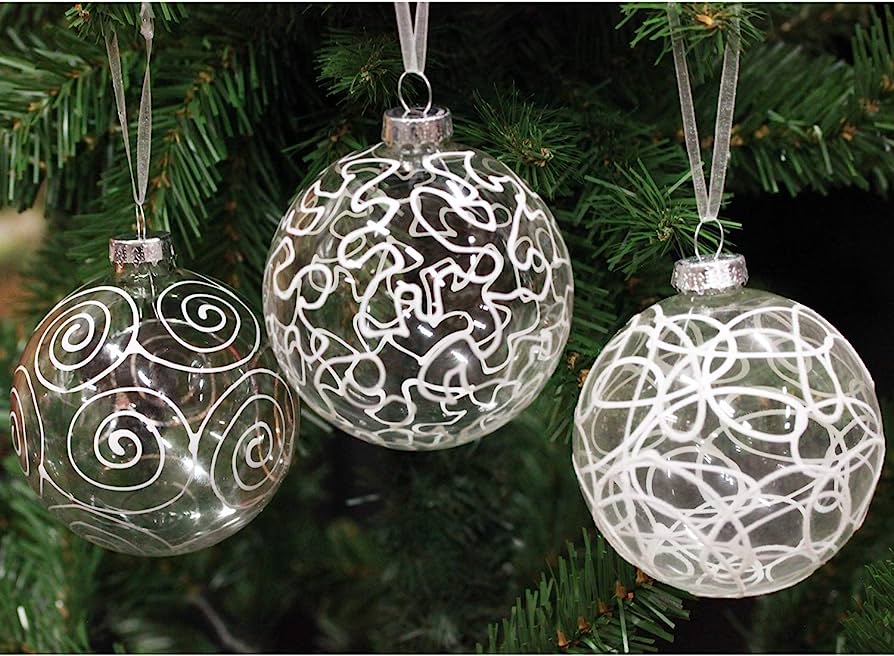
Glass Painting Ornaments
Glass painting allows for endless creativity and customization. You can transform plain glass ornaments into works of art using specialized glass paints and markers. Follow these steps to create your own painted glass ornaments:
Clean and Prepare: Ensure the glass surface is clean and free of any dirt or fingerprints. Use rubbing alcohol to remove any residue.
Design: Plan your ornament design. You can use stencils, freehand drawing, or trace patterns onto the glass surface using transfer paper.
Paint: Apply glass paints or markers to your ornament, layering colors and adding details as desired. Allow the paint to dry completely between layers.
Curing: Cure the painted ornament according to the instructions provided with your chosen glass paints. This usually involves baking the ornament in an oven at a specific temperature and duration.
Sealing: Apply a clear glass sealant or varnish to protect the painted surface and enhance its longevity.
Glass crafts offer a world of beauty and creativity, especially when it comes to creating stunning ornaments for holiday decorations. Whether you choose the delicate art of stained glass, the elegant simplicity of glass etching, the vibrant fusion of glass fusing, or the endless possibilities of glass painting, your handmade glass ornaments will add a touch of enchantment to your festive celebrations.
So, gather your tools, unleash your imagination, and embark on a journey of glass crafting to create one-of-a-kind ornaments that will be cherished for years to come.