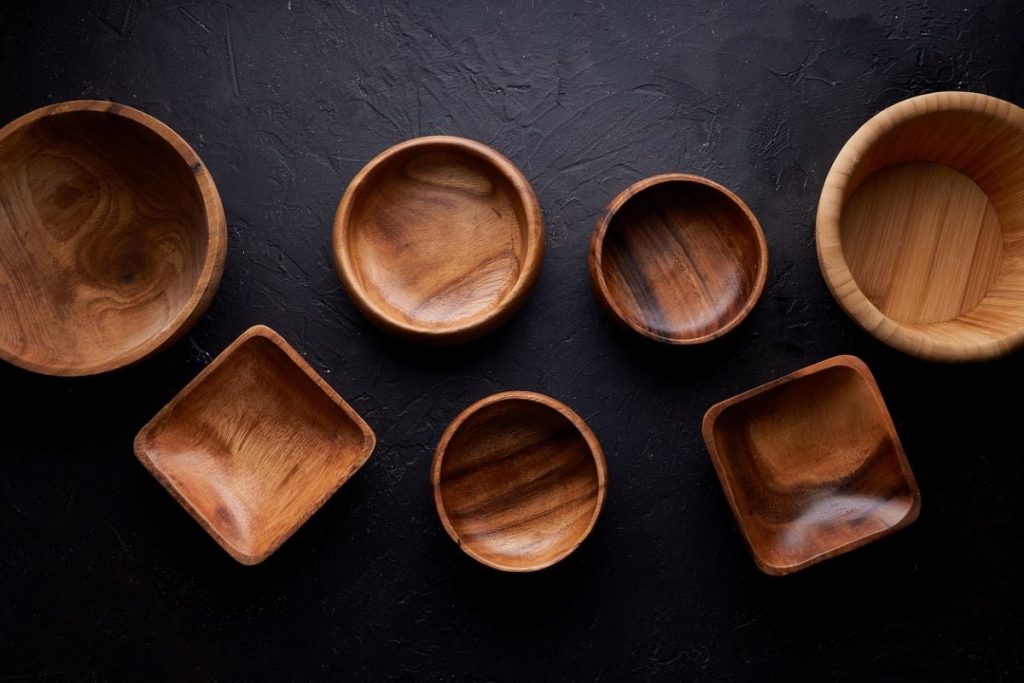
Woodworking is a captivating craft that allows artisans to transform raw timber into beautiful and functional pieces of furniture, home accents, and small wooden crafts.
While the construction process is crucial, the final touch that brings out the natural beauty of wood lies in the finishing techniques. Wood finishing not only enhances the appearance but also protects the wood from damage and wear.
In this article, we will delve into the world of wood finishing, focusing on staining, varnishing, and oiling techniques that will elevate your woodworking projects to new heights of beauty and durability.
Understanding Wood Finishes
Staining
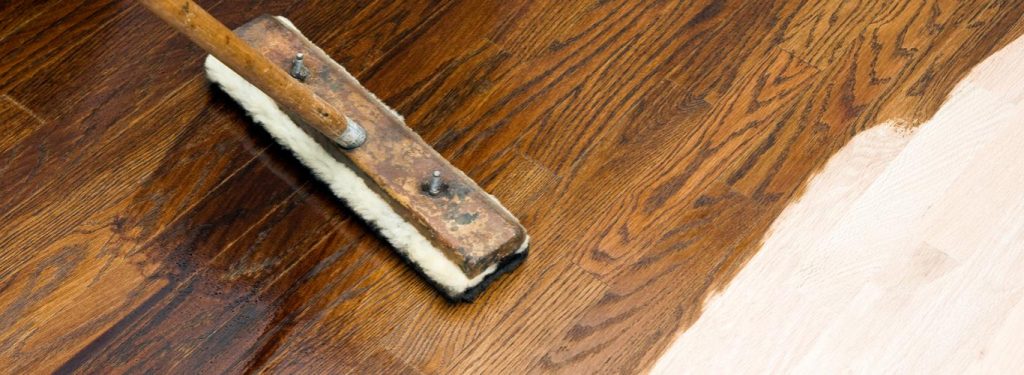
Staining is a popular wood finishing technique that adds color and enhances the natural grain of the wood. It penetrates the wood fibers, imparting a rich hue that can range from subtle to bold. Stains are available in a variety of formulations, including oil-based, water-based, and gel stains. Here are the key steps involved in staining wood:
Surface Preparation: Begin by sanding the wood surface to achieve a smooth and even finish. Start with a coarse grit sandpaper and gradually progress to finer grits for a polished result. Remember to remove any dust or debris before applying the stain.
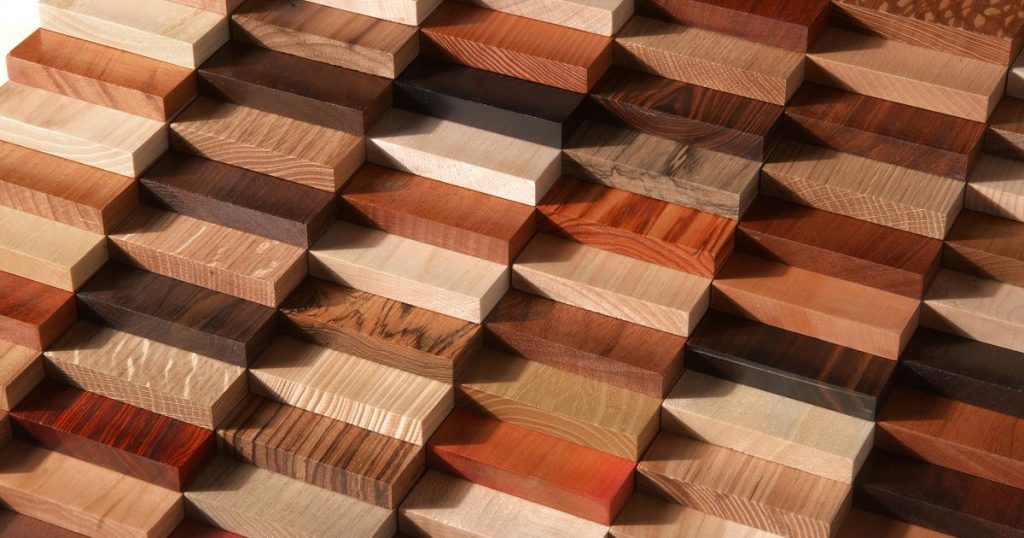
Test and Select the Stain: Before applying the stain to the entire project, it’s advisable to conduct a test on a small, inconspicuous area of the wood. This will allow you to assess the color and compatibility with the wood species. Choose a stain that complements the desired aesthetic and follows the manufacturer’s instructions for application.
Application: Apply the stain using a brush, rag, or sponge applicator, following the grain of the wood. Work in small sections, ensuring even coverage. Allow the stain to penetrate the wood for the recommended duration, typically a few minutes, and then wipe away any excess stain with a clean cloth.
Drying and Sealing: Allow the stained wood to dry completely, as per the manufacturer’s instructions. Once dry, apply a clear protective topcoat, such as varnish or polyurethane, to seal and protect the stained surface. This will enhance the longevity of the finish and add a layer of shine if desired.
Varnishing
Varnishing is a versatile wood finishing technique that provides a protective and glossy layer on the surface of the wood. It not only enhances the natural beauty but also shields the wood from moisture, scratches, and other wear and tear. Here’s a step-by-step guide to varnishing wood:
Surface Preparation: As with staining, sand the wood surface to achieve a smooth and clean finish. Remove any dust or debris before applying the varnish.
Selecting the Varnish: Choose a varnish suitable for your project, considering factors such as indoor or outdoor use, level of gloss desired, and the type of wood. Varnishes are available in oil-based, water-based, and polyurethane formulations.
Application: Apply the varnish using a brush, working in the direction of the wood grain. Ensure even coverage and avoid excess pooling of varnish. Apply multiple thin coats, allowing each coat to dry completely before applying the next. Sand lightly between coats to achieve a smooth finish.
Finishing Touches: Once the final coat is dry, inspect the surface for any imperfections. Lightly sand the surface with fine-grit sandpaper to remove any dust particles or brush marks. Finish by buffing the surface with a clean, soft cloth to achieve a smooth and glossy finish.
Oiling
Oiling is a natural and traditional wood finishing technique that enhances the natural beauty of the wood while providing a protective and nourishing layer. Oils penetrate the wood, bringing out its unique grain patterns and colors. Here’s how to oil wood effectively:
Surface Preparation: Sand the wood surface to achieve a smooth and even finish. Remove any dust or debris before applying the oil.
Selecting the Oil: Choose a suitable oil finish, such as linseed oil, tung oil, or Danish oil. Consider the desired level of sheen, drying time, and the specific wood species. Some oils provide a natural matte finish, while others may offer a subtle sheen.
Application: Apply the oil using a brush, cloth, or by dipping the wood into the oil. Ensure even coverage and allow the oil to penetrate the wood for the recommended duration. Wipe away any excess oil with a clean cloth.
Curing and Maintenance: Allow the oiled wood to cure for the specified time, usually several hours to several days. During this period, the oil will soak into the wood and enhance its natural beauty. For added protection, apply multiple coats of oil, allowing each coat to dry before applying the next. Regular maintenance may involve reapplying oil periodically to maintain the finish.
Wood finishing techniques such as staining, varnishing, and oiling are essential steps in the woodworking process that enhance the natural beauty of wood, protect it from damage, and add longevity to your projects.
Whether you choose to stain wood to highlight its grain and add color, varnish to create a glossy and protective surface, or oil to enhance its natural beauty and nourish the wood fibers, these techniques offer endless possibilities for customization and creativity.
With careful surface preparation, appropriate material selection, and proper application, you can achieve stunning results that will make your woodworking projects truly shine. So, dive into the world of wood finishing, experiment with different techniques, and elevate your woodworking creations to new levels of beauty and durability.